100% Duct Tape Lunch Bag
I'll start off with a little history. In June of 1996 I started my first cooperative education experience working as a system administrator for the Systems Group of the College of Computer Science at Northeastern University. Being a college student I was trying to save money so I frequently brought my lunch to work and I kept reusing the same paper bag to carry my lunch. This worked great until one lunch leaked a little bit. For whatever reason (maybe early eco-friendly behavior) instead of throwing the paper bag out I put a little piece of duct tape on the bag. Time passes, another lunch leaks, another piece of duct tape. After a few more cycles of this, one of my co-workers joked I was going to end up with the enter paper bag covered in duct tape. This prompted the idea of skipping the paper bag entirely and going straight to nothing but duct tape.
One weekend I sat on my studio floor and painfully created a lunch bag made entirely out of duct tape. I say painful because I had trouble getting the duct tape to do what I wanted without it sticking to me and everything else. The exact details are a little lost to time but I persevered and ended up with a functioning lunch bag that lasted me from sometime in the fall of 1996 until last Friday. While at a friends' house an overly curious dog smelled some leftover food in my lunch bag and played with it a little too much. To be fair for the last few months my lunch bag had been looking a little ragged. This unfortunate event served as the catalyst to make a new lunch bag. Below are pictures of my process.
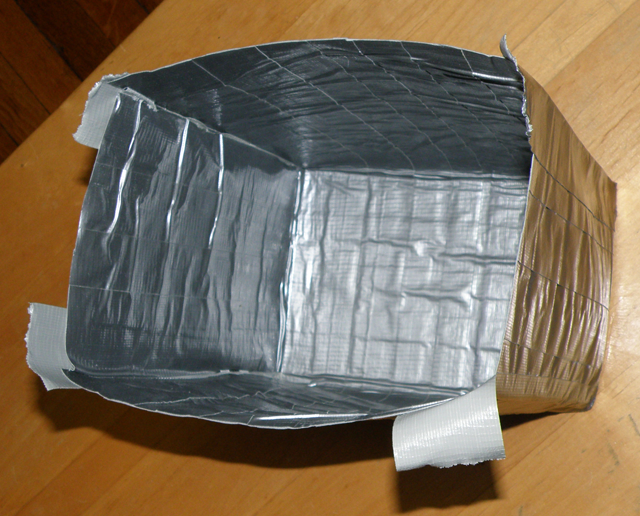
My old lunch bag:
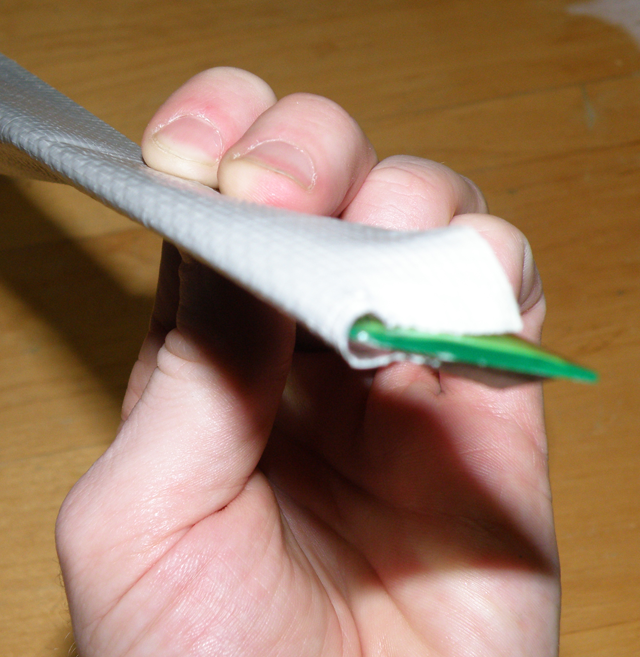
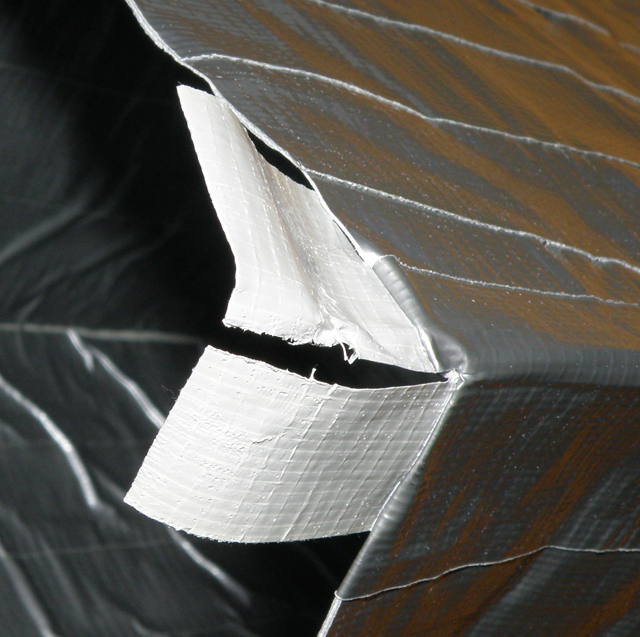
In particular you can see the layers peeling apart from each other:
This time I decided to use a crude guide to make working with the duct tape easier. I straightened out 4 coat hangers and bent pairs at 27 and 29 inches. This works out to a 5 x 7 x 11 inch lunch bag:
I taped the coat hanger together to form a crude square. I used clear packaging tape so I wouldn't get confused later on:
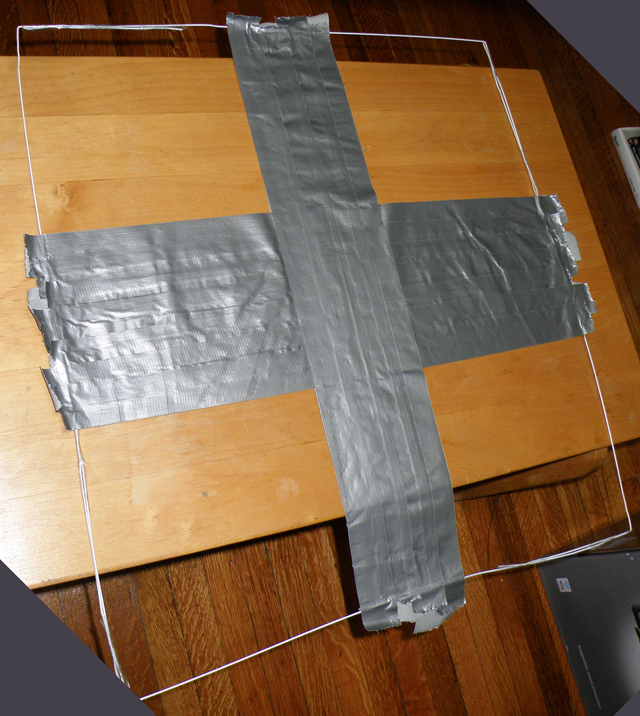
I marked the edges so I would know where to start and stop laying duct tape:
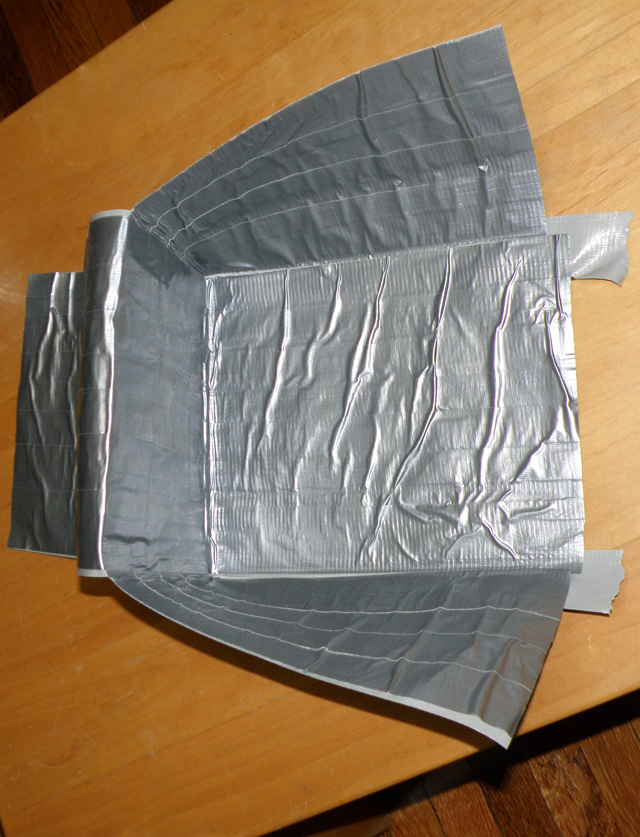
Using a light touch, so it wouldn't stick to the table, I laid down strips, slightly overlapping, for the long side and then covered those with strips for the short side to create a cross:
With the help of my make shift guide it was easy to flip the entire layer over:
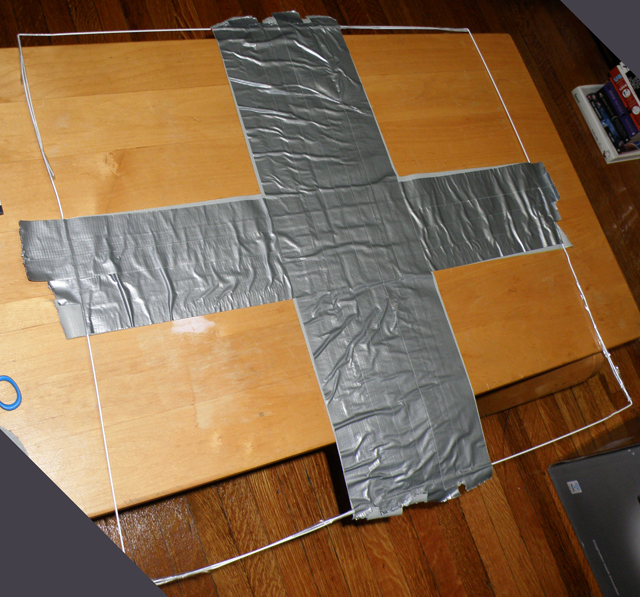
I then laid the long side. You want to hold the strip tight that is going sticky side to sticky side, otherwise you get messed up lines:
I repeated the same process for the short side:
Flipping it over you can see I didn't get everything quite right, but this helps give it some character. The sticky sides visible after flipping will be hidden later:
After cutting the cross out of the guide, I used a sturdy book to help join the edges. I put half a piece of duct tape on one edge, aligned the connecting edge, and joined them:
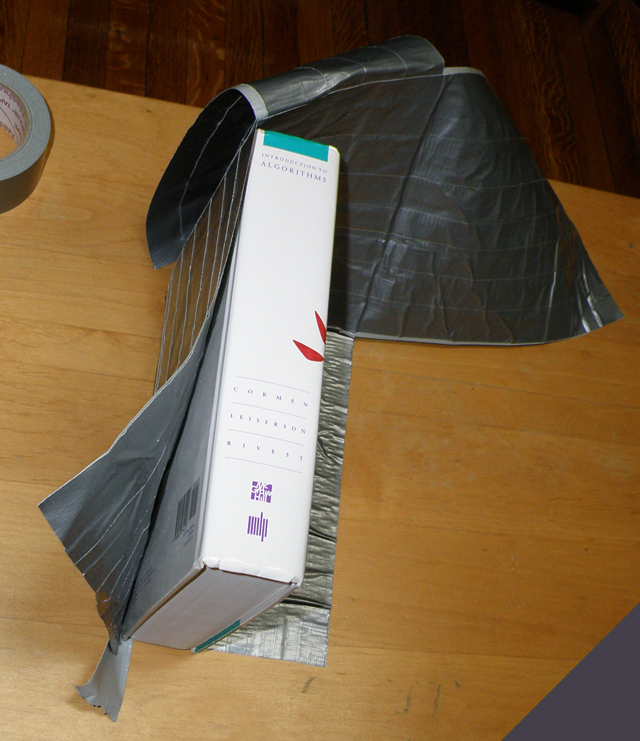
I repeated the process the for the second edge:
And finally the remaining edges. The excess at the top I just cut off:
Next to reenforce the inside edges I placed a piece of duct tape folded over a ruler sticky side out:
And using the bottom of the ruler as a guide I jammed it into the bottom inside corner and folded the two sides over it. The excess at the top I cut and folded over the top:
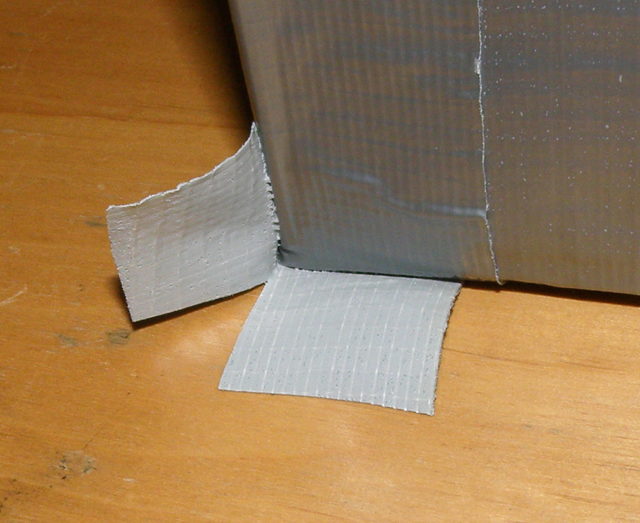
I cut strips of duct tape to length and folded them over each top edge of the bag to clean it up a bit. Lastly using a small square of duct tape attached to each bottom corner, I cut the excess in half and folded the two pieces on top of each other:
The final result folded and ready for lunch tomorrow. Not bad for a couple hours of work:
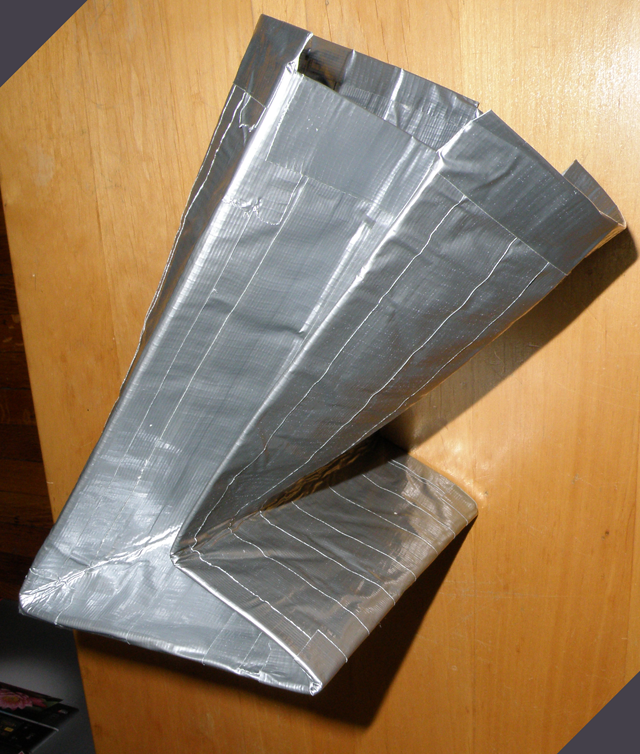
Let's hope this bag lasts me another decade.